Creating illustrated maps for travel blogs involves merging visual artistry with narrative storytelling to provide an immersive experience for audiences. To implement this side hustle, follow these steps:
- Define the map style: Determine the visual tone and aesthetic of the map, considering the destination, target audience, and blog's brand identity. Research existing maps, illustrations, and design elements to inspire the style.
- Choose a color palette: Select a range of colors that evoke the destination's atmosphere and resonate with the target audience. Ensure the palette is cohesive and consistent throughout the map.
- Create personalized illustrations: Develop custom illustrations that reflect the destination's landmarks, culture, and unique features. These illustrations should be detailed, yet simple enough to integrate into the map.
- Plan the map's layout: Organize the map's elements, including the illustrations, labels, and other design components. Balance the layout to ensure visual harmony and easy navigation.
- Add narrative elements: Incorporate storytelling elements, such as anecdotes, historical facts, or insider tips, to make the map more engaging and immersive.
- Use digital tools: Utilize graphic design software, such as Adobe Illustrator or Sketch, to create and edit the map. These tools allow for flexibility and precision in the design process.
- Refine and finalize: Review and refine the map, ensuring it meets the desired aesthetic and functional standards. Once complete, export the map in a suitable format for online or print use.
By following these steps, travel bloggers can create enchanting illustrated maps that capture the essence of a destination and provide a unique visual identity for their blog.
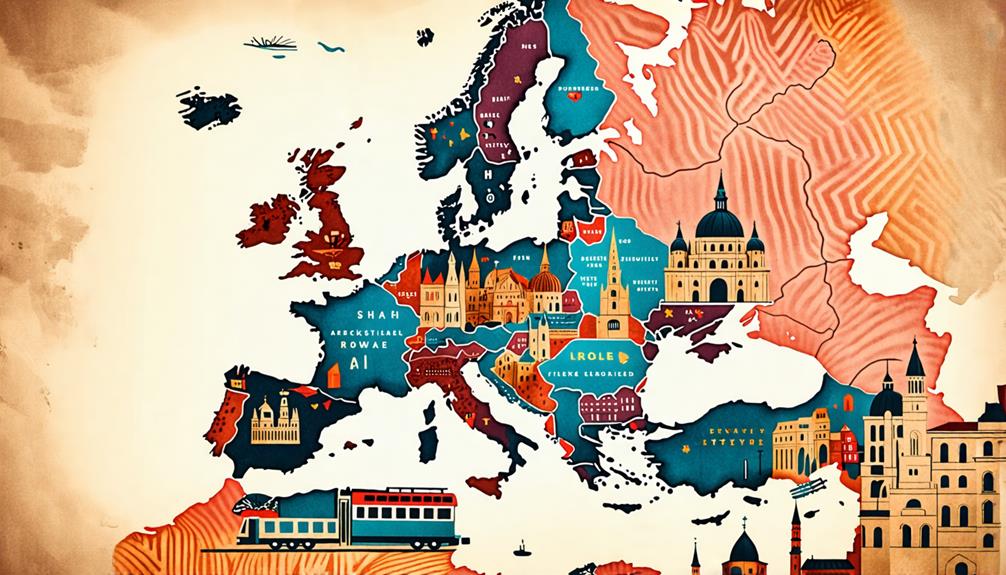
Choosing the Right Map Style
When creating an illustrated map as a side hustle for clients' travel blogs, selecting a style that aligns with the blog's tone and aesthetic is crucial. This choice sets the visual foundation for the map's overall design and helps to engage the target audience.
With numerous map style trends to choose from, it's essential to evaluate the blog's unique personality and the type of experience it aims to convey to determine the best style for the client's needs. For instance, a vintage-inspired map can evoke a sense of nostalgia and adventure, while a minimalist design can convey a more modern and sleek feel.
Historical map influences can also play a significant role in shaping the overall style of the illustrated map. As a freelance cartographer, drawing inspiration from ancient maps, such as medieval illuminated manuscripts or 19th-century explorer's charts, can help create a unique and enchanting visual identity that sets your work apart.
Selecting a Color Scheme
When selecting a color scheme for your illustrated map, it's crucial to reflect on the overall aesthetic and tone you want to convey to your travel blog audience.
Drawing inspiration from a thoughtfully curated color palette can help evoke the unique character and charm of the destination, while also ensuring visual cohesion.
Additionally, your color scheme should align with your brand identity, reinforcing your blog's recognizable style and personality.
Color Palette Inspiration
When creating a color palette for your side hustle's brand, drawing inspiration from its unique personality can help evoke the right tone and atmosphere. Consider the emotional impact of different colors and the principles of color psychology to craft a palette that resonates with your audience. For example, warm colors like orange and red can stimulate creativity and energy, while cool colors like blue and green can promote balance and growth.
Seasonal color schemes: Look to the seasons for inspiration, incorporating colors that reflect the changing times of year. A spring-inspired palette might feature fresh greens and pastel hues, while a fall-themed palette might incorporate warm earth tones and rich berry shades.
Industry influences: Incorporate colors and patterns that reflect the unique characteristics of your side hustle's industry or niche. This could include bold typography inspired by the world of publishing or calming colors reminiscent of wellness and self-care.
Brand personality: Take cues from the values and personality traits that define your side hustle, using colors that reflect its quirks and characteristics. For example, a creative side hustle might feature bold, bright hues, while a more analytical pursuit might incorporate cooler, more subdued tones.
Brand Identity Considerations
Crafting a distinctive color scheme is crucial for establishing a strong brand identity for your side hustle, helping to visually differentiate you from competitors and establish an emotional connection with your target audience. A thoughtfully chosen color scheme can convey the tone and personality of your brand, while also creating a lasting impression through visual storytelling. When selecting a color scheme, consider the message and emotional response you want to evoke, ensuring it aligns with your side hustle's values and mission.
| Color Scheme | Emotional Connotation |
|---|---|
| Earthy tones (browns, greens) | Authentic, sustainable, innovative |
| Vibrant colors (blues, yellows) | Dynamic, creative, motivated |
| Pastel colors (pinks, lavenders) | Approachable, friendly, inspiring |
Designing Map Icons and Symbols
Effective map icons and symbols are vital elements in illustrated maps for travel blogs, as they help to communicate valuable information and enhance the overall visual appeal.
When designing icons and symbols, it is essential to adhere to best practices that prioritize clarity, consistency, and aesthetics, ensuring that they are easily recognizable and engaging.
Icon Design Best Practices
When creating digital products for a side hustle, such as illustrated maps or infographics, the use of well-designed icons and symbols is essential. They serve not only as visual elements but also as a crucial means of conveying information and enhancing the overall client experience.
Effective icon design should consider current iconography trends, ensuring that the visual language is modern and relatable to the target audience. Additionally, accessibility considerations must be taken into account, guaranteeing that the icons are legible and understandable for clients with varying abilities.
To achieve best practices in icon design, consider the following key principles:
- Simplify and Clarify: Icons should be easily recognizable and simple in form, avoiding clutter and visual noise.
- Ensure Consistency: Establish a consistent visual language throughout the product, using a unified style and color palette.
- Test for Legibility: Verify that icons are legible at various scales and resolutions, ensuring they remain clear and understandable in different contexts.
Custom Symbol Creation Tips
Creating custom symbols for illustrated maps can be a lucrative side hustle, allowing you to monetize your creativity and attention to detail. By applying icon design best practices, you can craft unique and meaningful symbols that enhance the aesthetic of maps and provide an additional layer of depth and meaning to geographical information. These bespoke graphics can be sold to mapmakers, travel companies, and tourism boards, providing a steady stream of income.
Designing original map icons can also help you stand out in a crowded market, showcasing your skills and creativity to potential clients. You can conceptualize custom symbol designs for various features, such as notable architectural styles, historical milestones, environmental warnings, and local sports, allowing you to cater to a wide range of clients and projects.
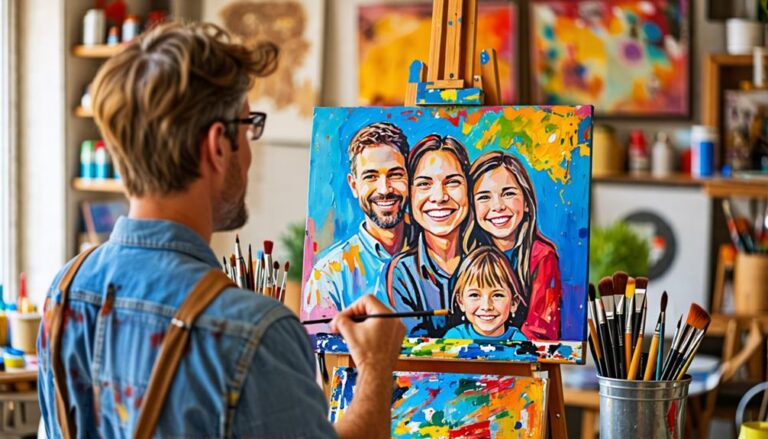
Adding Personalized Illustrations
Incorporating bespoke illustrations into a side hustle's branding not only adds a touch of personality but also enables entrepreneurs to tailor their visual content to the specific tone and style of their business.
This approach enhances personal storytelling by highlighting unique services, products, and experiences that resonate with the entrepreneur's mission. By integrating personalized illustrations, side hustlers can convey the emotional connection they've made with their customers, making their content more relatable and engaging.
Three benefits of incorporating personalized illustrations into a side hustle's branding are:
- Authenticity: Personalized illustrations reflect the entrepreneur's individual perspective, injecting authenticity into their visual content.
- Creativity: Custom illustrations enable side hustlers to push the boundaries of traditional branding, experimenting with innovative styles and graphics.
- Emotional connection: By highlighting unique services and experiences, personalized illustrations help create an emotional connection with customers, making them more invested in the side hustle's success.
Using Digital Drawing Tools
Digital drawing tools have opened up new opportunities for side hustlers to create and sell illustrated maps, offering a versatile and intuitive means of bringing imaginative ideas to life with precision and finesse.
By leveraging these tools, artists can experiment with a wide range of digital drawing techniques, from subtle texture and shading to vibrant colors and bold lines. This allows them to create unique products to sell online or at local markets.
One of the primary advantages of digital drawing tools is their ability to facilitate effortless editing and revisions. This capability allows side hustlers to refine their work with ease and quickly respond to client requests.
For those looking to explore the world of digital illustration as a side hustle, software recommendations include Adobe Illustrator, Procreate, and Sketchbook Pro. Each offers a unique set of features and capabilities, catering to various skill levels and artistic styles.
Adobe Illustrator, for instance, excels in vector-based illustrations, while Procreate is renowned for its intuitive interface and exceptional brush engines.
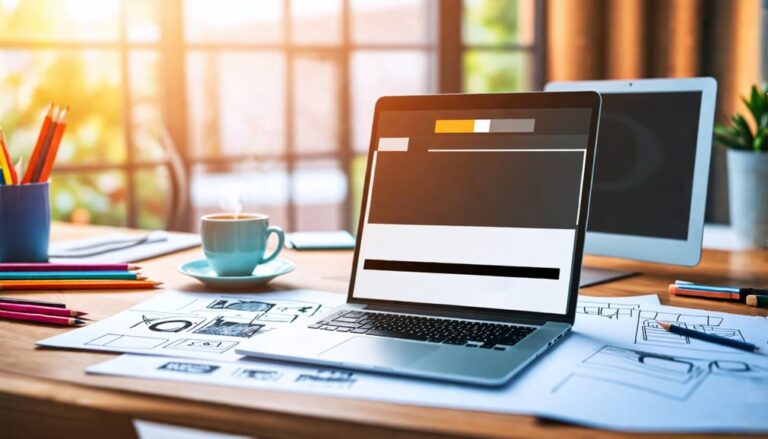
Creating a Map Layout
Creating a successful side hustle requires effective visual communication of your brand and services, which can be achieved through a well-designed map layout. A thoughtfully composed map layout guides the viewer's eye through various elements, creating a lasting impression. To achieve this, side hustlers can employ various map layout techniques.
Three essential layout balance tips to consider:
- Visual Weight: Balance the visual weight of map elements to create a cohesive representation of your services. Distribute elements across the layout using a mix of large and small features, varied colors, and textures.
- Symmetry and Asymmetry: Utilize symmetry to convey a sense of professionalism and stability, while incorporating asymmetrical elements to add visual interest and showcase your unique services.
- Negative Space: Leverage negative space to create a clear and legible map layout that effectively communicates your side hustle's value proposition. Strategically empty areas of the map draw attention to key services and prevent visual overload.
Adding Text and Labels
Optimizing Text and Labels for a Side Hustle Travel Blog Map
A crucial step in creating a professional-looking map for your travel blog side hustle is strategically placing and styling text and labels to convey essential details effectively. This thoughtful placement creates a clear visual hierarchy, directing the viewer's attention to the most vital information. A well-crafted label hierarchy is necessary, ensuring that critical labels stand out from the rest.
| Label Type | Font Size | Color |
|---|---|---|
| Destination Labels | 24-30pt | Dark Green (#2E865F) |
| Attraction Labels | 18-22pt | Medium Beige (#964B00) |
| Street Labels | 12-16pt | Light Gray (#CCCCCC) |
When selecting fonts and colors for text and labels, consider your side hustle's brand aesthetic and tone. Choose legible, consistent fonts and colors that reflect your unique personality. Avoid clutter and ensure labels are easily readable. By striking a balance between text, labels, and visual elements, you can create an engaging, informative map that elevates the user experience and distinguishes your travel blog.
Editing and Finalizing Your Map
Refining and finalizing your map is a critical step in creating a valuable resource for your travel blog side hustle. A well-edited map ensures that your unique perspective and essential information are effectively communicated to your audience. To produce a professional and visually appealing map, utilize map finalization techniques that enhance clarity and aesthetics.
Employ editing software like Adobe Illustrator or Sketch to refine your map's colors, textures, and typography, creating a cohesive visual identity that aligns with your brand.
Key steps include:
- Color correction and consistency: Ensure a consistent color palette throughout the map, making adjustments as needed to maintain visual harmony.
- Typography refinement: Review font sizes, styles, and arrangements to guarantee clear, readable, and well-integrated text within the map design.
- Detail checking: Inspect the map for errors, inaccuracies, or omissions, making adjustments as necessary to ensure the final product is accurate and reliable.
Conclusion
The illustrated map, a masterpiece of cartographic deceit, lures readers in with promises of exotic landscapes and Instagram-worthy hotspots.
Yet, behind this innocent facade lies a painstaking process of artistic manipulation, carefully crafted to evoke a wanderlust-fueled frenzy.
The end result? A visually stunning tool of persuasion, masquerading as a harmless map, expertly designed to guide readers down the rabbit hole of travel temptation.
Cartographic trickery never looked so good.


0
View comments